Table of Content
Once your design is laminated, cut out the tag shape and punch a hole in the top. Then, attach the tag to your luggage with a piece of string or ribbon. When you’re packing for a trip, the last thing you want to worry about is your luggage getting lost. To help avoid this, it’s a good idea to make your own luggage tags. Not only will this save you money, but it’s also a great way to personalize your bags.

I don’t recommend using heavier fabrics like home decor fabrics for this project, since the bulk can make turning the project right side out more challenging. Now all that’s left to do is attach your tag to your bag. You can do this by threading the ribbon through a loop on your bag, or by tying it directly onto the bag’s handle.
Step 8: How to Sew DIY Luggage Tags
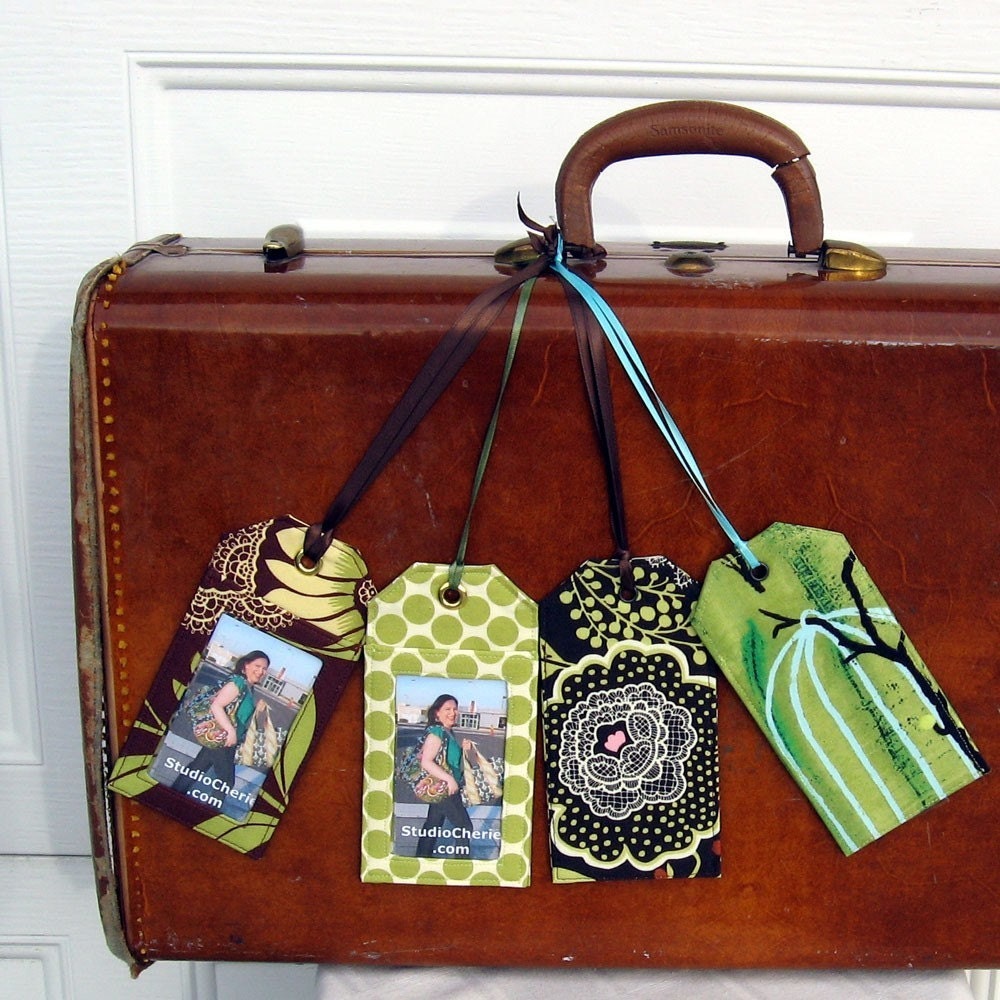
You could buy luggage tags, but where’s the fun in that? Instead, make your own using this easy DIY luggage tag tutorial. A festive set of luggage tags can not only brighten up your packing experience, it makes it easier to spot your things at baggage claim post-flight. Usually I tie a big ribbon around the handle of my checked bags. It helps me easily spot each suitcase quickly, especially in crowded or busy baggage claim areas. But, I thought it would be fun to make a little tag that we can personalize however we like.
This will make it more difficult for a thief to remove the tag without damaging your bag. To make your template more accurate and precise, you can use a ruler to mark out where you will be cutting your curves. You can also use a pencil to lightly trace the outline of your template onto the cardboard before you start cutting. Press the tag, being careful not to melt the vinyl. Cut a rectangle of vinyl that is 4 inches by 7 inches. Cut a strip of cardstock 2-3 inches wide and as long as you need it to wrap around your luggage handle.
How Do You Make A Double-Sided Luggage Tag?
Engraving leather with a Cricut is a relatively easy task that can be accomplished with a few simple tools. To begin, you will need a stainless steel or brass engraving tip, a Cricut machine and a piece of leather that is at least 1. These mats allow the machine to accurately read the material and cut it into the desired shape.
This includes your name, address, and phone number. You should also include the destination address, if applicable. Create the strap by folding the raw edges toward the middle and pressing. Fold in half to enclose the raw edges and press again.
Make Your Cuts
Thread the strap through the buttonhole and add your tag to your favorite luggage. Using a piece of tissue paper, cover the vinyl. Topstitch around the entire tag right along the edge. Place the remaining main piece over the other 3 pieces, with right sides together.
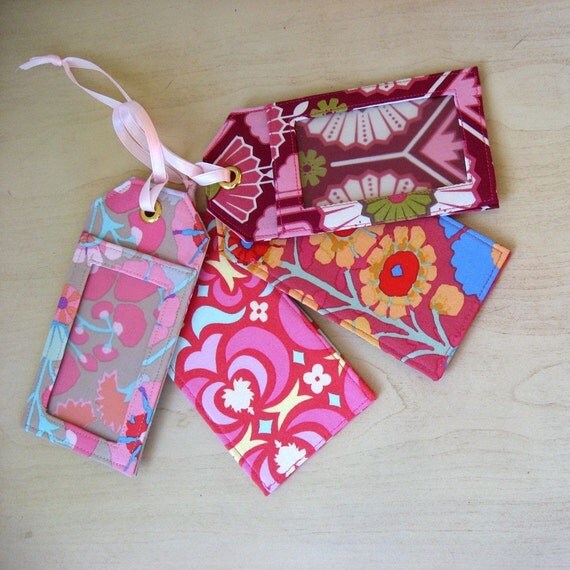
If you are printing at home, you will need a printer and software to design and print the tags. You can find a variety of tag stock in different sizes and shapes at office supply or print shops. Break out the sewing machine for this DIY tag, but don’t be intimidated, it actually comes together pretty quickly and without too much tricky stitching. Try using different complementary patterns of fabric on the front and back of each tag for a funky contrast effect. Reluctant to print personal information on your tags?
Along with adding a personal statement to your luggage bags, these tags will also help to easily identify your bags that are difficult for most travelers. As you are to make these tags at home so you can your own personal preferences. See all designs by browsing this list of 20 best DIY luggage tags that contain all famous tag designs to inspire your creativity. While you could always purchase tags from a store, making your own tags is a fun and easy project that you can do at home. Plus, by sewing your own tags, you can be sure that they’ll withstand the rigors of travel. So, if you’re ready to get creative, here’s a quick guide on how to make a luggage tag for sewing.
TSA locks are special types of locks that can be opened by TSA agents using a master key. These locks are designed to help keep your luggage secure while traveling, but there are a few potential disadvantages to using them. Then, cut your laminate to the same size as your paper or cardstock. Place your paper or cardstock on one side of the laminate, and run it through the laminating machine. Next, you will need to print your design on the sheet of paper or cardstock. Make sure that your design is printed on the correct side of the paper so that it will be visible through the clear laminate.
I wrote my own words on a second strip of paper and applied it as another paper layer. With all the travel I've been doing, I thought it would be fun to showcase some travel inspired projects. You also need to remember if the airline cancels your flight, you're entitled to a full refund, you don't have to settle for a credit.

Wrap thread around the edge twice, coming up through the second hole. Cut “bon voyage” text out of vinyl, weed out design and transfer to tag. Remove the template to reveal the guide marks on both tags. Print the PDF template at the bottom of the post.
See the photo tutorial for an inside view of the stitching. Locking your suitcase can help to prevent theft or tampering, meaning you can help protect your possessions when you are away from home. It is also important to use locks that will be TSA-approved and airport staff won’t need to cut through the locks when you reach your destination. Next, place the strip of duct tape sticky-side up on your work surface. Then, fold the strip in half lengthwise so that the sticky sides are touching.
Make sure to use a high-quality paper so that your labels will look sharp and professional. Now, you will need to add a grommet to the tag. Add a grommet to the top of the tag, making sure that it is centered.
Clip the outer corners and press the seam allowance to the wrong side at the top edge only, topstitching in place. Megan Graney is a crafting expert, art teacher, and writer who shares her knowledge of DIY painting, furniture refinishing, and sewing. She has almost a decade of hands-on experience and has been writing about crafts for five years.


No comments:
Post a Comment